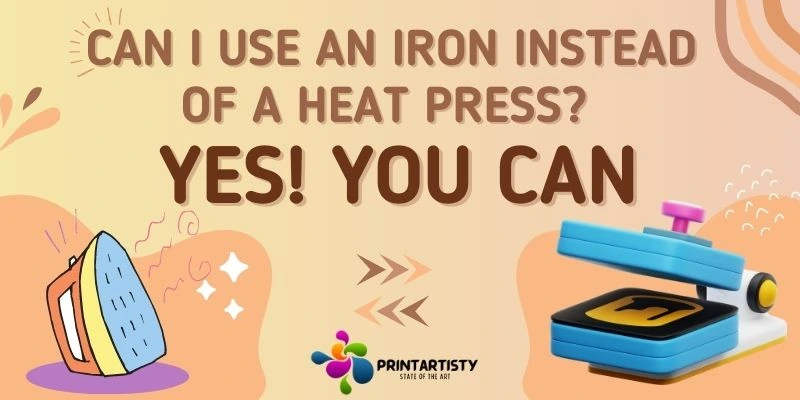
Can I Use An Iron Instead Of A Heat Press? Yes! You Can
The straightforward answer to the question “Can I use an iron instead of a heat press?” is, of course, “Yes!” A household iron can be used instead of a heat press for various heat-pressing tasks. But it mainly depends on what type of heat transfer material you’re going to use. Heat transfer materials play an important role when it comes to using iron for heat press tasks. Many of the materials aren’t suitable for iron-on because you won’t get vivid results with them. So let’s dig into the depth to know the details.
Can You Use An Iron Instead Of A Heat Press
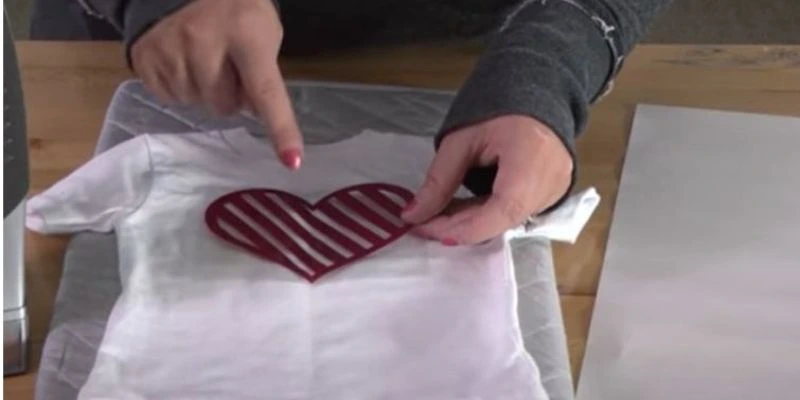
You can use iron for heat-pressing tasks. But you need to select the material that is compatible with iron-on pressing. For example iron-on vinyl is suitable and preferred to use with household iron. As the name refers to iron-on vinyl that means you’ll get top-notch results with it.
How To Get Started With Iron On Instead Of A Heat Press
I’ll be using iron-on vinyl or heat-transfer vinyl to get started with the process. Here are the materials you’ll require:
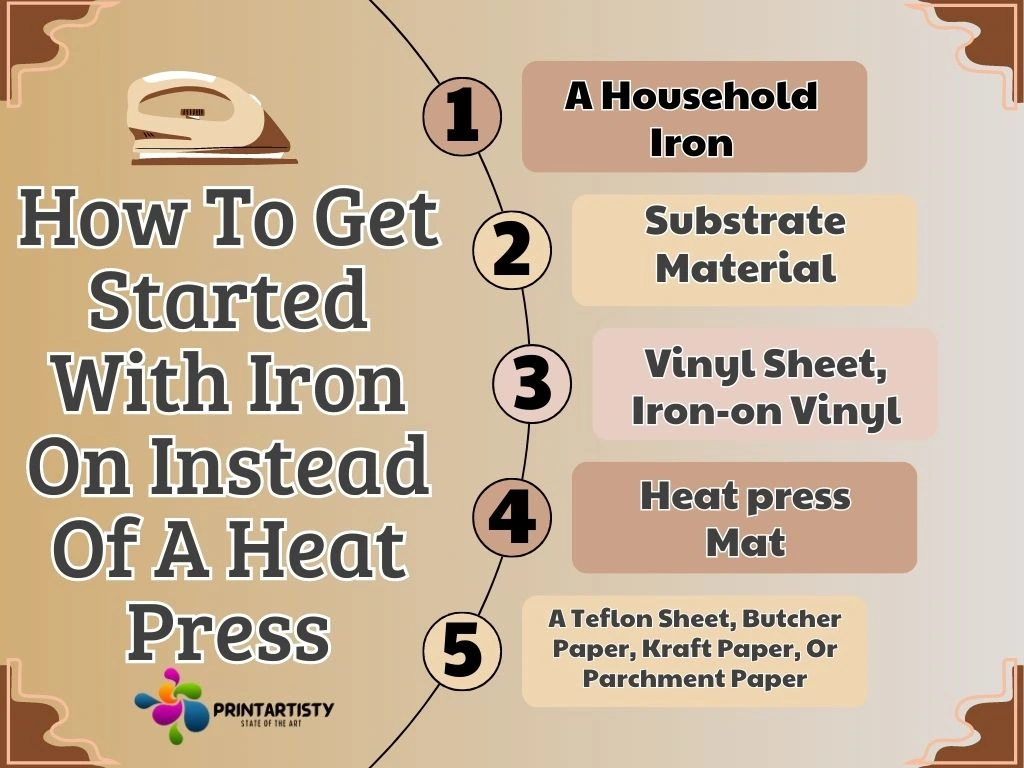
If you really want to proceed with your journey with the household iron then I’d suggest buying a separate iron for crafting purposes particularly. Because a used household iron might have dust, debris, fabric lint, or stubborn stains.
Despite that, if your budget is tight then you should clean the pressing surface of your household iron by applying the baking soda paste. Just take 2 tablespoons of baking soda, add 1 tablespoon of water, and apply evenly. Clean the surface thoroughly and gently with the cloth.
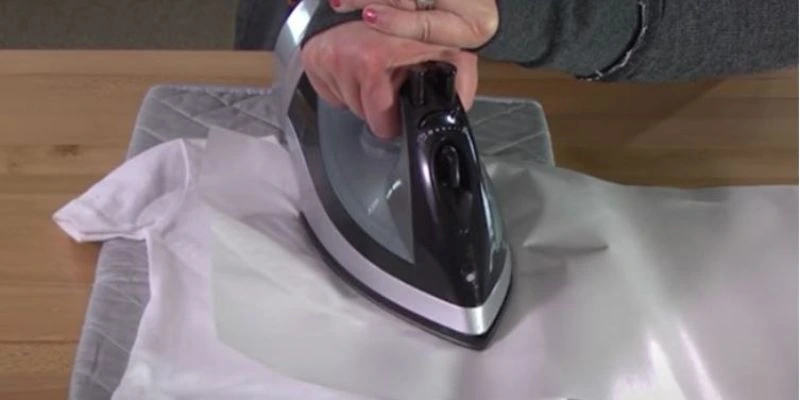
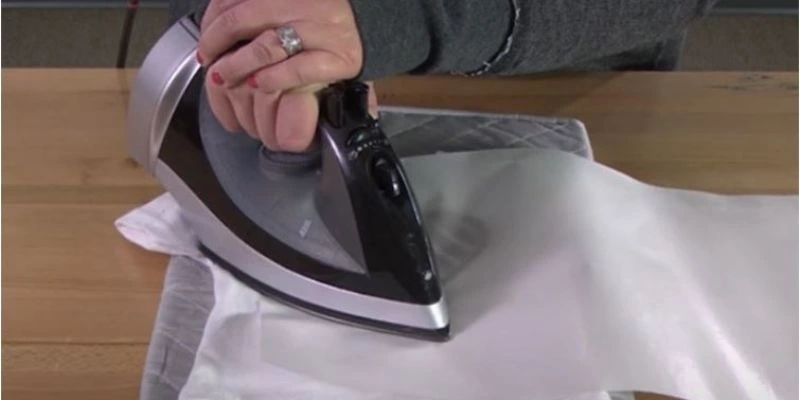
Other than that, the preferred iron is a regular rather than a steam iron. Regular irons don’t have steam holes though steam irons do have holes beneath their metal surface. The plain surface will make good contact with HTV when compared with the surface with holes that a steam iron has.
The steam iron holes will apply less heat which will lead to the wear and tear of the HTV within no time.
You can use polyester fabric, cotton, spandex, acrylic fabric, or polyblend shirts too. Other than that, you can use other substrates like glass or metal too. Read here. How to sublimate on metal with HTV.
There are a lot of textures and designs available on vinyl sheets. For example, PU heat transfer vinyls are suitable for garments. Glow in the dark, Cricut vinyl, rainbow stripes, glow in the dark (my favorite), and other colorful patterns. For sublimation, the best choice is the plain HTV. Because an already printed HTV won’t work for sublimation.
A Quick Step By Step Process
4 Important Factors To Consider
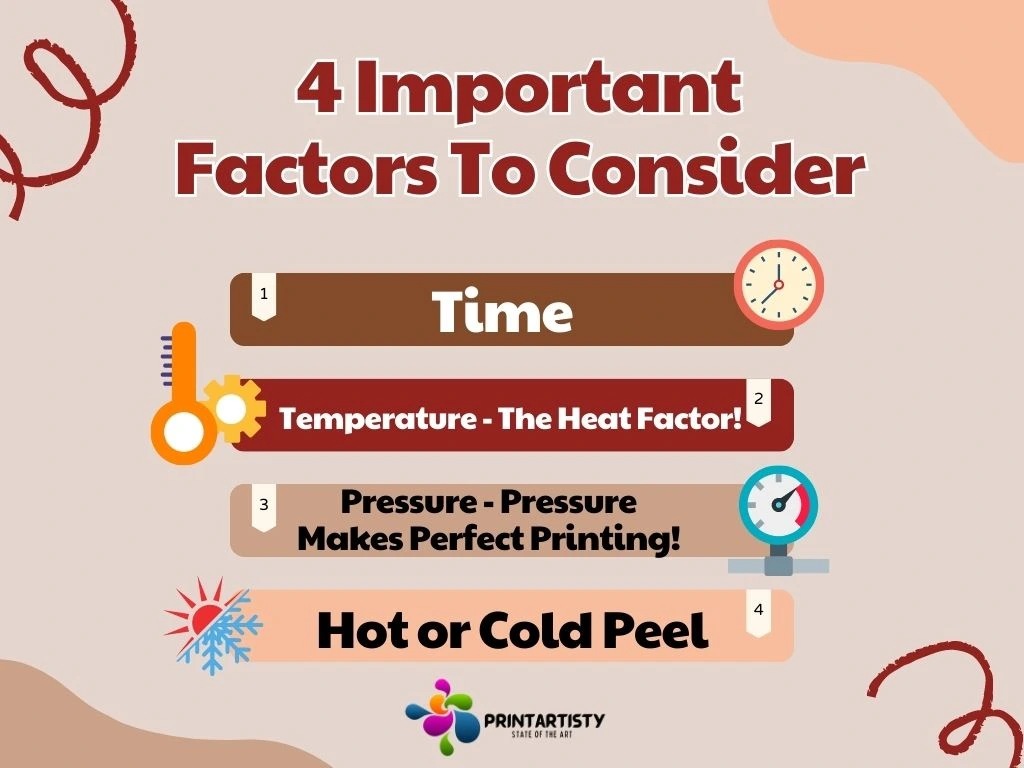
1. Time
As we know, household iron doesn’t have any timer to determine and the duration plays a vital role in the successful application of vinyl. Make sure you’re using a mobile or tablet for timer to count down the seconds. This will eliminate the overtime or under-timing.
2. Temperature – The Heat Factor!
Heat presses are equipped with the adjustment of temperature. HTV will require a high temperature up to 400 Celsius and this adjustment won’t be possible for the household iron. For temperature adjustment, some advanced household irons do have the settings of temperature adjustment.
You cannot use temperatures like medium to low or medium to high. For vinyl heat pressing, a clear temperature range is essential.
In case if you don’t have an iron that has a clear temperature range. Preheat your iron for 10 minutes and use a thermometer to verify the iron’s actual temperature to avoid scorching or insufficient bonding.
3. Pressure – Pressure Makes Perfect Printing!
Heat presses exert consistent and even pressure across the entire surface. Various vinyl materials require distinct pressure requirements to get adhered. When using an iron, you’ll need to apply firm and even pressure manually according to the vinyl material type. Be cautious not to press too hard, as it might distort the design.
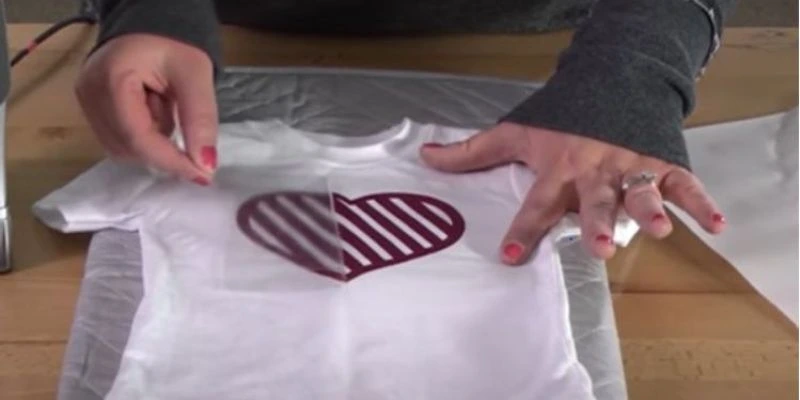
4. Hot or Cold Peel
Vinyl brands often mention on their packing whether the vinyl sheets are cold peel or hot peel. Hot vinyl sheets often involve removing the carrier sheets immediately after the heat press. This method allows for a rapid transfer of the vinyl onto the substrate.
The heat softens the adhesive on the vinyl, enabling it to bond quickly with the fabric’s fibers. Hot peeling is commonly used with heat transfer vinyl (HTV) and sublimation transfers.
Whereas, cold peel vinyl sheets, as the name suggests, require waiting until the transfer cools down completely before removing the carrier sheet. This method allows the vinyl to gradually bond with the fabric over time.
Making the Right Choice
Hot Peel

Ideal for HTV and sublimation transfers. Provides a quick and secure bond, preserving color vibrancy.
Cold Peel

Choose cold-peel vinyl sheets when durability and long-lasting results are a priority, particularly for heat transfer papers and specialty materials.
What Is Ideal For Sublimation?
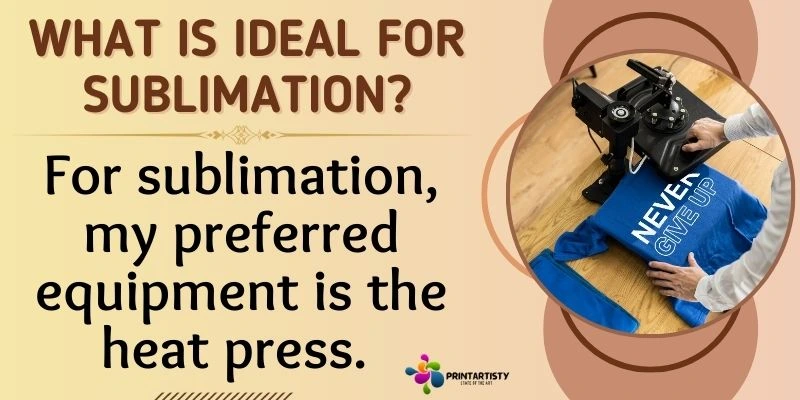
For sublimation, my preferred equipment is the heat press. Because sublimation is completely infused into the fabric and if the proper heat and pressure are not applied then the sublimation transfer rate would be low. The vinyl is sticky so it can be bonded with fabric quickly when compared with sublimation and infusible ink sheets. Read the best Epson printer for sublimation.
When considering using an iron for sublimation, you should ensure to have proper control over time, temperature, and pressure. You can read the full guide Can you use an iron for sublimation I’ve tested the sublimation results with an iron.
What Is Ideal For Heat Transfer Vinyl?
For heat transfer vinyl or iron-on vinyl, you can consider using a regular household iron. HTV consists of a vinyl layer that adheres to fabric when heated. To achieve successful results, set your iron to the manufacturer-recommended temperature (typically between 300°F to 320°F or 149°C to 160°C). But make sure to check the temperature of the iron.
Read here: The best printer for heat transfer vinyl.
Can I Use An Iron For Heat Transfer Paper
Yes, you can use an iron for heat transfer paper. But again the main factors that are crucial to consider include time, temperature, and pressure. Although results may not be as appealing as those achieved with a heat press. Heat presses offer dedicated temperature and pressure control, which ensures a strong and even bond between the design and the fabric.
How To Use Heat Transfer Vinyl With Sublimation
You can use HTV for sublimation to sublimate fabric as well as hard substrates. HTV is usually used to sublimate dark fabric or cotton fabric. Dark colors won’t show the actual colors of sublimation because the sublimation ink is transparent. Whereas, cotton doesn’t accept sublimation ink, unlike polyester fabric.

In addition to that, hard substrates require a polyester coat to get sublimated so if any of the substrates is non-poly-coated then you can sublimate it using HTV. So let’s start how to use HTV for sublimation quick steps.
Conclusion
Well, a heat press is convenient but a household iron is affordable. If you want to start your career in t-shirt printing or crafting professionally then there is no other choice than a heat press machine. But what if your budget is really limited and you’re interested in printing and crafting? I’ve a solution which is getting a Cricut Easypress which is quite affordable and has a similar price to a household iron. You can easily buy it and get started with your dream journey.