How To Fix Peeling Shirt Printing | Iron-on Transfer
So your iron-on transfer has started to peel off after certain washes and you’ve decided to throw out the t-shirt. But fear not! You won’t need to throw off the t-shirt after several washes if you follow today’s proper instructions. And to be honest, your prints will last up to 50 washes. While I’ve tested the method of fixing a peeling shirt using adhesive wax paper. So I’ll guide you today that how to fix peeling shirt printing along with the causes of peeling.
How To Fix Peeling Shirt Printing
Iron-on transfers can be your favorite because it’s easy peasy as you’ll only need a regular printer, transfer paper, and a household iron. But the fact is it isn’t robust and peel off if you don’t apply it properly.
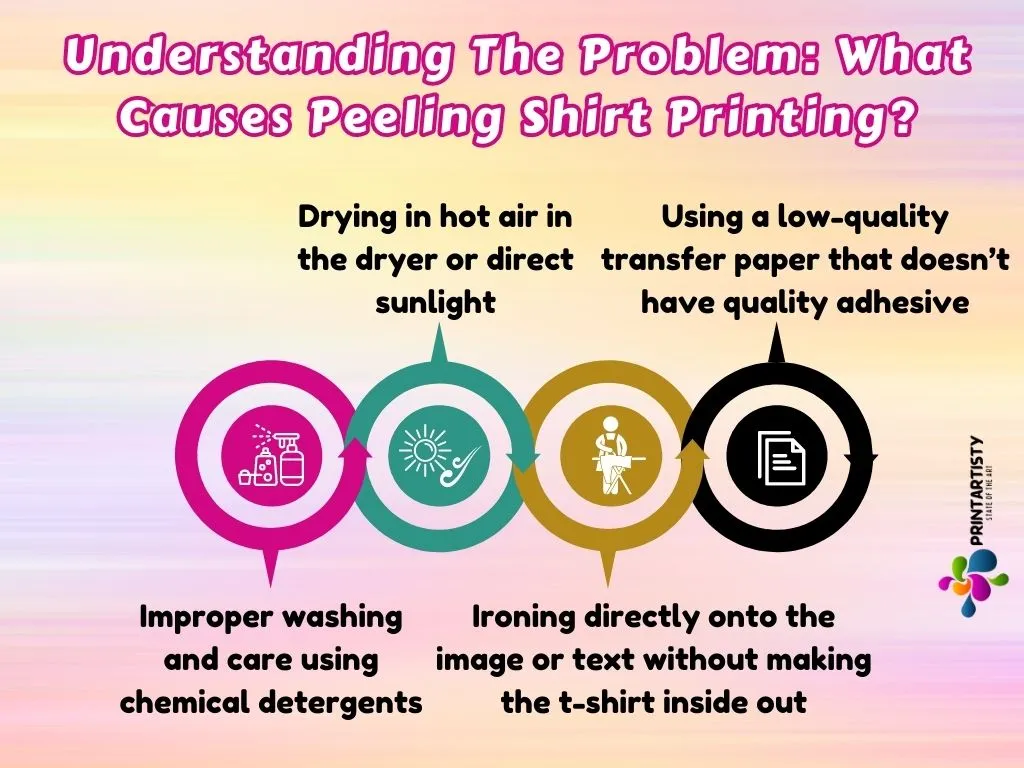
Understanding The Problem: What Causes Peeling Shirt Printing?
Before we dive into fixing the t-shirt, understand and examine your shirt closely and look for signs of peeling or lifting edges in the print. Is it a minor skirmish, with only a few corners misbehaving? Or has the entire print gone rogue? Because understand the peeling t-shirt thoroughly will help you fix the damage. Here are some culprits behind the wounds on the t-shirt.
Steps On How To Fix Peeling Iron-on Transfer That Is Messed up
Now you’ve troubleshot the enemy, it’s time to bring back the soul of your shirt. Gather the tools that are needed and listed below.
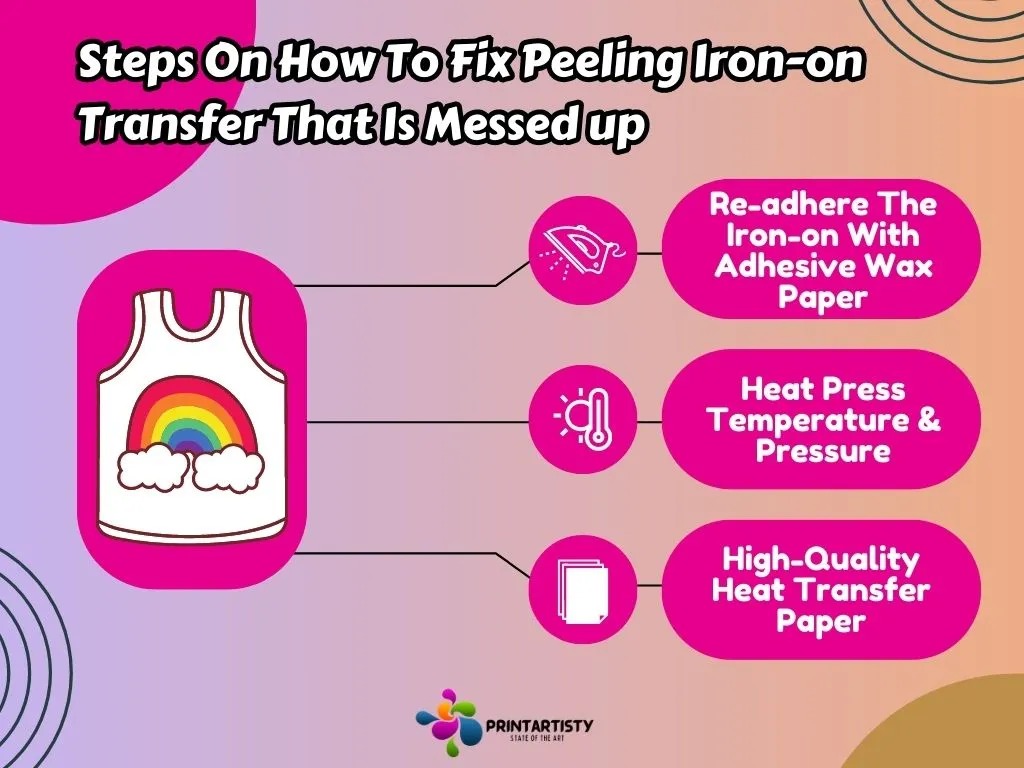
Re-adhere The Iron-on With Adhesive Wax Paper
1. Preheat the iron to transfer firmly and plug in it.
2. Get the peeled design t-shirt and place it on the iron board or heat press mat.
3. Place the adhesive wax paper over the peeling t-shirt print. Make sure the peeling ink should be completely covered with the wax paper.
4. Press the pre-heated iron with the edge of the iron for a few seconds up to 5 seconds not more than that because the heat press or iron is already pre-heated. Make sure you’re pressing only the area of the print that is peeling off not the entire image, and adhesive paper will help the peeling print to bond with the fabric fibers again.
5. After pressing wait for a couple of seconds to cool down the transfer. Make sure the peeling shirt print is bonded with the fabric again. If you’re still unsure that the prints are still peeling then repeat the process until you get your prints like a fresh piece.
Important Points To Note:
Heat Press Temperature & Pressure
The ideal temperature for the transfers will not let the iron on or any other transfer peel off within no time. To ensure smooth results, first test the temperature on the small piece of testing fabric. Apply the heat press at the temperature that you’d be using for your t-shirt printing. Ensure the results thoroughly that you’re getting on the tested piece.
Adjust the even pressure according to the fabric thickness and material. Start with moderate pressure and observe the results on the testes fabric. If the initial test is not properly transferring the ink and is peeling off then make sure to check thoroughly the heat press temperature and pressure.
Check: How long Does Heat Transfer Vinyl Last
High-Quality Heat Transfer Paper
The foundation of the successful transfer is the choose the best quality heat transfer paper compatible with the best printer for t-shirts. The quality of the heat transfer paper coat is the main culprit behind the peeling-off. Because low-quality transfer paper coats will get peeling off after several washes. Look for well-known brands that specialize in heat transfer paper such as HTVRONT.
Check: How To Make Printer Ink Permanent On Fabric
Frequently Asked Questions
Can I wash and dry the garment with a repaired iron-on transfer?
Yes, you can wash and dry the garment with a repaired iron-on transfer. Follow washing instructions that include, washing the shirts by turning them inside out, using a gentle cycle while washing, do not use harsh detergents and chemical bleach that may weaken the adhesive, Use low heat settings in the drying machine to maintain tremendous robustness.
How long will the repaired iron-on transfer last?
Some transfers require 24 to 48 hours or leaving if overnight to fully cure and achieve maximum durability. During this period, it’s essential to avoid washing the garment or exposing it to excessive heat or friction. To facilitate proper curing, place the garment on a flat surface and ensure good air circulation.
Conclusion
You can restore your designs with confidence. Remember to assess the damage, gather the necessary materials, re-adhere the transfer with adhesive wax paper and a heat press, and consider using high-quality heat transfer paper for a fresh start. With a little effort and the right techniques, your iron-on transfers will be back in action, bringing life and style to your garments once again.