Sublimation On Stainless Steel Tumbler Or Mugs In 2 Ways
To make your morning stainless steel cup look unique, sublimating it with the right type of equipment will let you create versatile and vibrant art. But before getting started with the sublimation on stainless steel, you should know which type of steel substrates are required to retain the sublimation ink because you cannot sublimate any regular stainless steel. So let’s start the guide on sublimating stainless steel in two different ways.
Can I Sublimate On Stainless Steel
Yes, you can easily sublimate on stainless steel substrate but the prerequisite for sublimation on stainless steel is it must have the polyester coating to retain the sublimation ink. Because the sublimation ink tends to be absorbed into the coat onto the hard substrates.
Additionally, you can use two different ways of sublimating on steel that we’ve described in our post thoroughly. One uses a mug or tumbler press if you’re sublimating a mug, tumbler, or water bottle. For flat surfaces like stainless steel sheets and frames, you can use a t-shirt heat press.
Supplies You’ll Need
- A Mug Sublimation Printer – to print mug-sized or tumbler-sized images. My fav ET-3760
- Sublimation paper I’m using A-sub
- Sublimation inks Hiipoo sublimation inks.
- A mug or tumbler press – Convection oven for the second method (I’m using Cricut Mug Press because my tumbler is small-sized.). But you can also use a Tumbler press which is more recommended if you have a larger-sized tumbler.
- Scissor
- Poly-coated stainless steel substrate according to your choice (I’m using a tumbler)
- Heat-resistant tape and gloves
- Butcher paper
- Subli Shrink and a heat gun for the convection oven method
Step By Step Guide On How To Do Sublimation On Stainless Steel
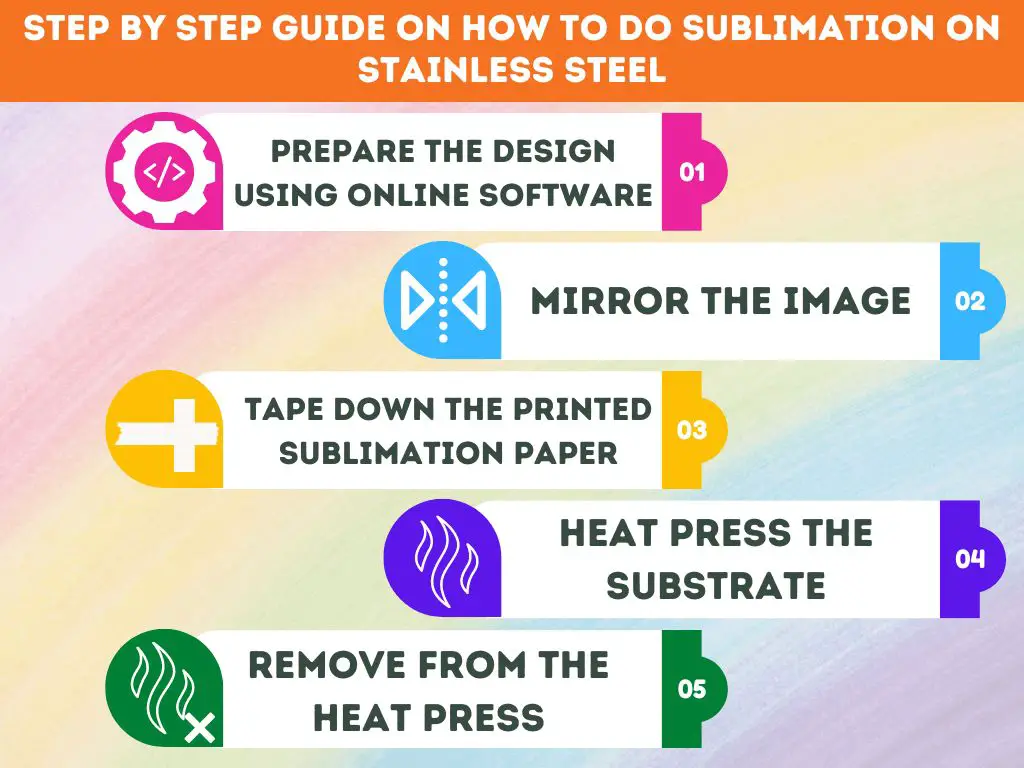
Step 1: Prepare the design using online software
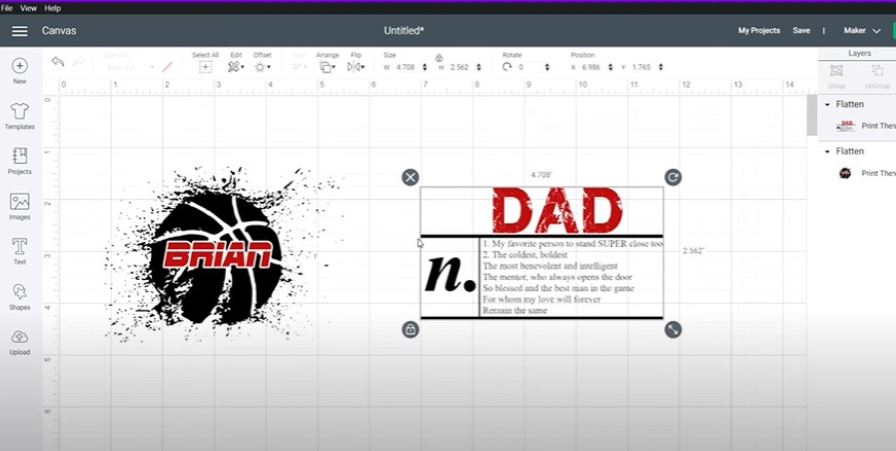
Before getting started with printing, measure the circumference and height of your substrate using inch tape. Prepare that size of design in online software like photoshop or any other of your choice. I’m using Cricut design space and now uploading the images on the software.
After uploading, prepare the image according to the substrate size. I am sublimating on both sides of the tumbler, so I’ve designed two images on the same canvas in the design space.
Step 2: Mirror the image
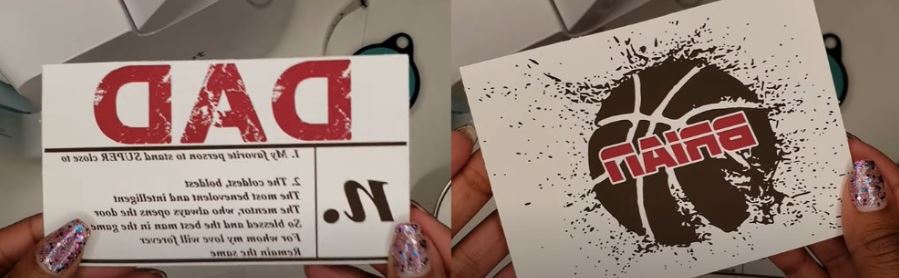
Before sending a printing command to the printer to print the image, you need to make the image mirror-inverted if your design contains any letters or a personalized image. You can enable the option from the Cricut design space or the software you’re using. In addition, you can set the printing setting from the printer setting too. It’s time to print the design.
Step 3: Tape down the printed sublimation paper
After printing, cut the all excessive sides using a scissor leaving a half inch of excessive sides to place the heat-resistant tape on them. You can also utilize print-then-cut.
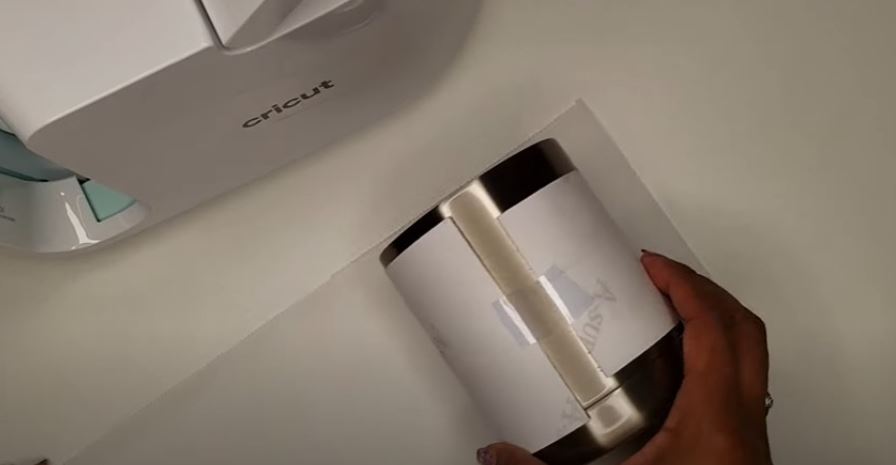
Secure the printed sublimation paper on the tumbler facing down the printing side on the surface of the tumbler. Tape down both sides with heat-resistant tape and wrap the tumbler or mug with butcher paper with the tape to secure it in place.
Step 4: Heat press the substrate
After wrapping, we’re ready for the heat pressing. Let’s go ahead and put the prepared substrate into the mug press. (I’m using a Cricut Mug press). The reason is it enables me to set the temperature without my interference and set the time without any hassle.
If you’re using a mug heat press then set the temperature at 400F for 60 seconds on each side of the substrate.
I’ll let the Cricut mug press to heat press for 30 seconds on the first side, and then turn the tumbler to bring the second side to get heat pressed.

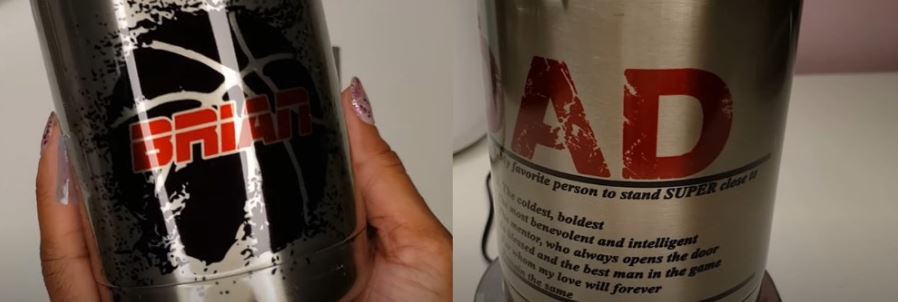
Step 5: Remove from the heat press
After heat pressing, remove the tumbler or mug from the heat press using heat-resistant gloves and let the tumbler cool down. Now remove the heat-resistant tape. butcher paper, and sublimation paper from the tumbler, and the result will be super clear.
Method 2: Using Convection Oven
This method is simple and doesn’t involve a heat press or a sublimation printer, sublimation ink, and sublimation paper. But you need to use a Cricut to print the cut feature. We’ll be using pre-printed sublimation Cricut sheets available out there. But you’ll be able to make a limited number of patterns with the Cricut infusible ink sheets.
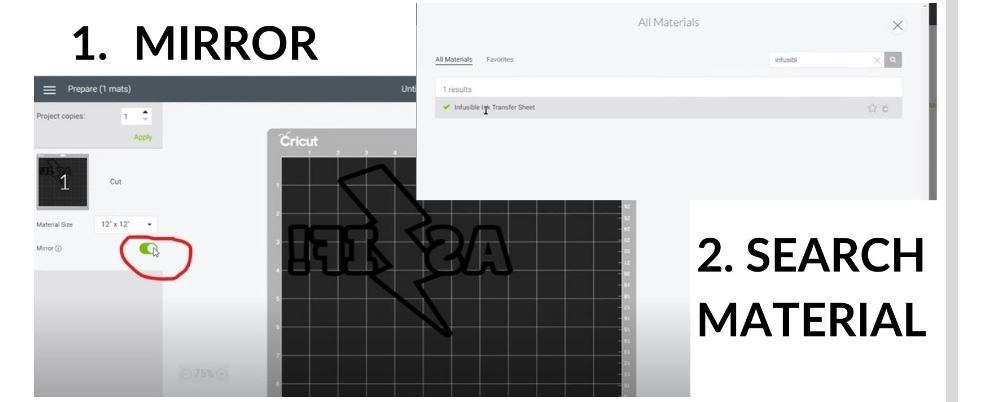
1- Prepare a design using the Cricut design space, and set the size of the image on the Cricut design space according to your substrate.
2- make sure to mirror the design if you’re designing the letters and proceed with making it. Also, search the material in the Cricut design space: Cricut infusible ink and you’ll get the printing material. As shown in the image below:
3- Place the desired Cricut sheet on the vinyl grip mat, and cut the design using the Cricut maker utilizing the cut feature.
4- Weed the design and tape it down with heat-resistant tape.
5- Wrap the prepared mug into the Sublishrink sheet and isolate the substrate using a heat gun.
6- Let the convection oven preheat for 5 minutes at 400 degrees.
7- Place the wrapped substrates for 5 minutes and remove the Sublishrink and paper.
8- Your stainless steel sublimation printing in the oven is ready.
Check the full guide: sublimation on leather.
Frequently Asked Questions
can you sublimate on any stainless steel?
You cannot sublimate on the stainless steel unless the steel is coated with polyester. To print on any stainless steel, you need to apply the sublimation coat to retain the sublimation ink. Otherwise, the sublimation ink will be wiped off once you wash the substrate. So it is essential to have a polyester coat on the stainless steel.
Can I sublimate on a stainless steel flask?
Flasks are the latest products to sublimate on. But again the prerequisite comes that is a polyester coat on the stainless steel flask. Flask is one of the perfect choices to gift your loved ones with beautiful quoted prints.
Conclusion
Now you can sublimate the stainless steel tumbler in two different ways. Gift your loved ones or sublimate the mugs or tumblers with your own bright images. Just sublimate the stainless steel cooler can or tumbler and gift it on Christmas and birthdays. Both methods are excellent although the convection oven method is affordable to get started.